
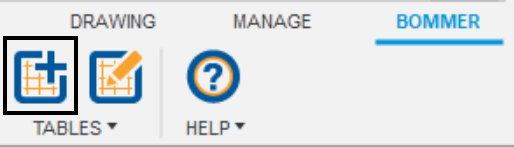
To add a new bill of materials table to a drawing sheet, find the  "New bill of materials table..." command in the Bommer tab, located in the Drawing workspace:
Click on this command and then move your mouse to where you want the table to be. You will see an outline of the table in the orientation that the table will be placed. You can repeat this process as many times as you need, for as many tables as you need to create, on one or all of your drawing sheets.
Note that if your drawing has not been saved, Bommer will ask you to save your drawing before it can place the table. The prompts on-screen will guide you through this.
Properties and configuration
By default, new tables are created using the properties, column widths, and text scaling configuration from the last edited table. If this is your first table, Bommer will attempt to select the Item #, Part Number, Description, and Quantity properties from your Bommer properties.
Table orientation
Bommer supports bottom-to-top oriented and right-anchored tables. Similar to placing a Fusion parts list, you can move your mouse to the right side of the drawing to anchor the table on the right corner instead of the left. You can also move your mouse to the bottom half of the drawing to flip the orientation so that a table is laid out bottom-to-top. The outline that is shown when your table is placed will indicate the orientation of the final table.
Comments
0 comments
Article is closed for comments.